
Instrucciones de instalación para 242252702
Instrucciones de instalación para 242252702
- Desenchufe el aparato y/o apague los disyuntores para evitar electrocución.
- Cierre el suministro de agua del refrigerador.
- Con un destornillador de ¼ de pulgada, retire los seis tornillos que sujetan el cartón a la base del refrigerador en la parte trasera y retire el cartón.
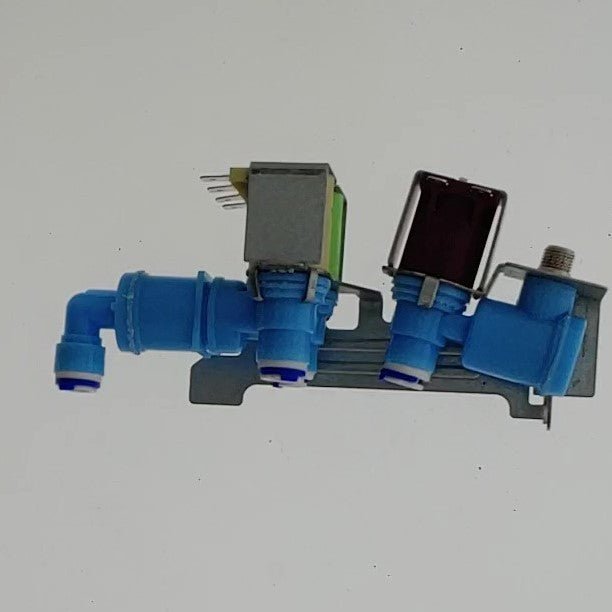
- La válvula de agua se encuentra en la esquina inferior derecha. Es importante saber la ubicación de las líneas de agua. Si es posible, tome una fotografía de la válvula de agua.
- Utilice una llave de ½ pulgada para aflojar y quitar la línea de entrada de agua y desenrosque cuatro líneas de agua diferentes.
- Utilice un destornillador de ¼ de pulgada para quitar los dos tornillos que sujetan el soporte de montaje.
- Quite la válvula de agua. Observe la ubicación de los conectores del mazo de cables y quítelos de la válvula.
- Con una cuchilla de afeitar, corte los extremos de las tuberías de agua existentes. Retire la tuerca de plástico y haga lo mismo con el resto de las tres tuberías de agua.
- Presione cada tubo en su lugar correspondiente en la nueva válvula de agua, si no está seguro, consulte la imagen tomada anteriormente.
- Vuelva a instalar las conexiones del mazo de cables. Atornille nuevamente los tornillos que sostienen el soporte de montaje.
- Vuelva a conectar la línea de entrada de agua y apriétela con una llave.
- Vuelva a conectar el suministro de agua, vuelva a colocarlo en el cartón y coloque los tornillos.
Enchufe el aparato.
Herramientas necesarias:
- Destornillador de tuercas de ¼ de pulgada
- Hoja de afeitar
- Llave de ½ pulgada
Dejar un comentario